Slides
Slide Attribute Syntax
Slides have a slightly different attribute syntax compared to the other elements. Whereas other elements always have their attributes preceding them, slide attributes are inserted after the so-called slide separator (which separates slides).
The reason for that is that it would be difficult to distinguish the attributes of the first element in a slide from the attributes that apply to the actual slide. So, instead, slide attributes are applied after the separator of a slide. In the following example, we apply the size attribute to the first slide, not the second one:
 # First Slide

 --- :: size: 50

 # Second Slide
So here, the first slide has the size for all elements (headlines, images, etc) to 50%.
Obviously, there're more attributes than just the size. Here's a list of all the attributes that are available for slides:
Skip Slide
The skip attribute tells Hyperdeck that you wish to not play this slide in the presentation. It can have the value true or false. Although in reality you only need the true value, because by default a slide is not skipped. Here's an example:
--- :: skip: true
Hide Slide Number
This attribute tells Hyperdeck to hide the slide number and author name when displaying the slide. The slide number is normally displayed in the bottom right. The syntax is:
--- :: number: true
Setting it to true means that the number should be hidden.
Slide Alignment
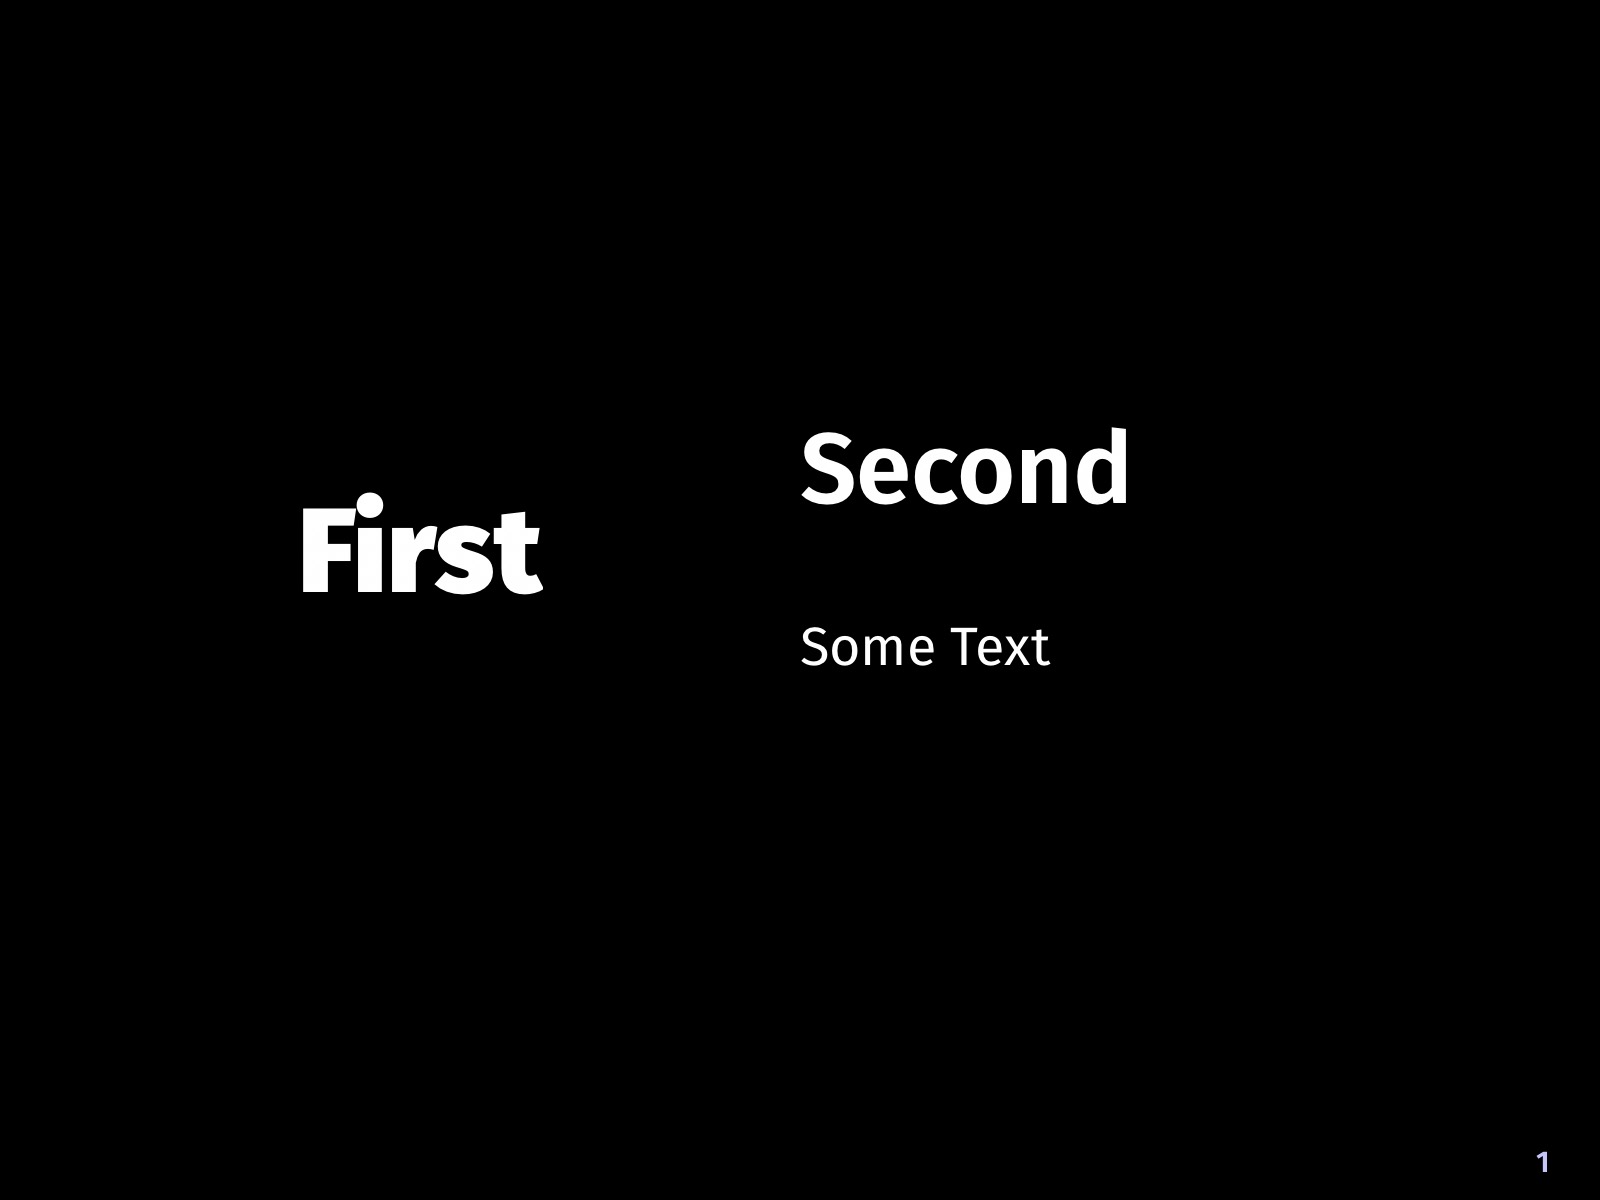
Alignment is a powerful option which tells Hyperdeck how to align the elements on the slide. By default, elements are aligned vertically, that means one element below the other. Here's an example of this behaviour:
# First

## Second

Some Text
Here's an image of what that looks like:

The next option is called right. What this means is that the first elemen on your slide will be moved to the right part of the slide, and the rest will be placed on the right side. Here's the syntax:
 # First

 # Second

 Some Text

 --- :: alignment: right
Here, you can see the result. As you can see, the first element (# First) is now placed on the right side of the page.

The final option is called left and what this does is place the first element on the left side of the slide. You can see the code and result here:
Here is a table that lists all the options for the alignment attribute:
| Option | Explanation |
|---|---|
vertical | The default, elements flow vertically |
left | The first element is on the left |
right | The first element is on the right |
Slide Master
The master attribute tells Hyperdeck which layout to apply to the current slide. Each Hyperdeck theme has five different slide masters. Each of these types can be used in a variety of situations, but they're all visually different, so that your presentation flow can have segments and surprises.
The syntax for the attribute is as follows:
--- :: master: title1
Here is a table that shows the different options you have for the master attribute and what they do.
| Option | Explanation |
|---|---|
| title1 | The primary title, say for the first slide |
| title2 | The secondary title, say for chapters |
| regular1 | For regular content |
| regular2 | Alternative for regular content or quotes |
| Code | Optimized for displaying source code |
Slide Transitions
Hyperdeck features many different transitions between slides. Each transition has a different look and feel. For each transition you can also define the duration of the transition.
The syntax for a transition can best be explained via an example:
--- :: transition: (0.50; move)
Here, we're applying the move transition, which moves the old slide out to the left and the new slide in to the right. We're applying it with a duration of 0.5 seconds.
The other options for the name of the transition (beyond move) are listed in the following table.
| Transition | Explanation |
|---|---|
| none | No Transition |
| move | Move to the left |
| fade | Fade Over |
| clockwise | Fade over along the circle of a clock |
| flip | Flip over to back side |
| circles | Split up slide into small circles |
| diamond | Fade over via diamond shape |
| back | Move back |
| pinned | Rotate on a pin and fall off |
| fall | Fall off |
Here's a small video that shows all animations in action:
Slide Background Colors
You can set the background color of a slide with a hex color. The color also supports alpha values:
This sets the background color to red.
--- :: background: #ff0000
This sets the background color to a half-transparent red.
--- :: background: #ff00007f
If the background is half transparent, the original slide color can be seen.
Slide Background Images
You can also set a background image on a slide. The image has to be imported into the library. The syntax for a background images gives you a lot of flexibility to position the image as needed:
- Opacity / Alpha
- Scale
- Aspect Ratio
The simplest syntax is as follows:
--- :: background_image: image_file_name.png
If you want to set more parameters, then the syntax looks like this:
(FILENAME; ASPECT; ALPHA; SCALE)
FILENAME: Is the name of the fileASPECT:fit: The image fits into the slidefill: The image fills the slidecenter: The image is centered in the slide
ALPHA: The alpha value / opacity0: fully hidden100: fully visible
SCALE: The scale of the image1.0: Normal Size0.1: Very Small5.0: Very Big
Here're some examples:
Fit the image in the slide, 50% alpha, 2.5 times bigger
--- :: background_image: (mine.png; fit; 50; 2.5)
fill the slide, 10% alpha, 0.3 size
--- :: background_image: (mine.png; fill; 10; 0.3)
Combining Color and Image
You can also combine the background color and the background image by using the alpha values:
--- :: background: #00ff007d, background_image: (mine.png; fill; 10; 0.3)